How to Frame the Perfect Picture – Photography Tips
Along with exposing a photo correctly, framing the picture is probably the most important aspect of photography. This applies to any type of photography: whether you are a couples photographer, a family photographer or a portrait photographer.
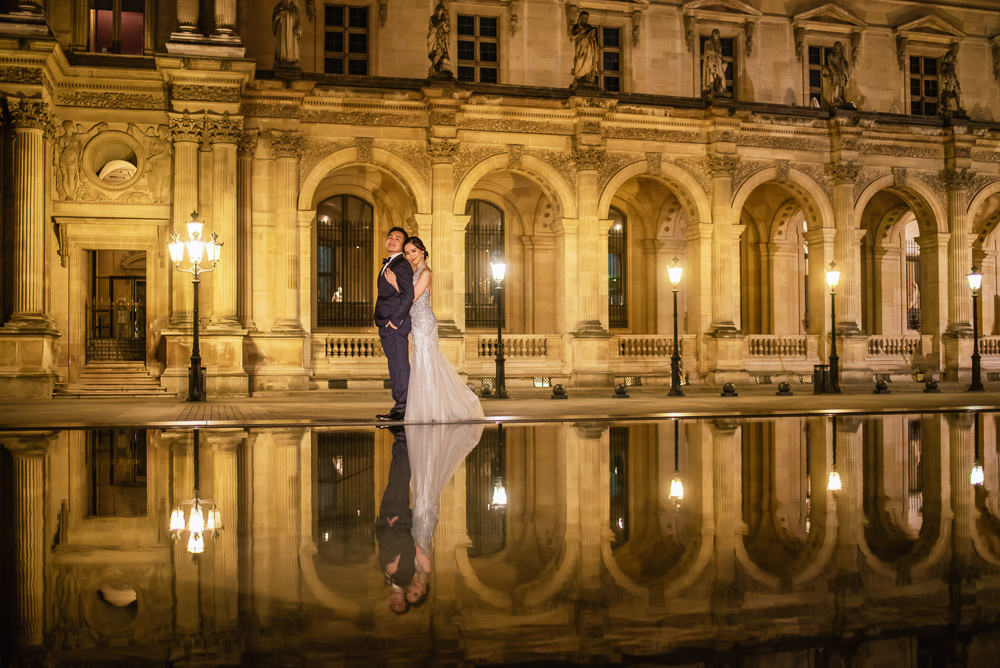
Let me explain.
People are simply drawn to photos that are well framed. It’s within our nature to appreciate what is beautiful. Even if beauty means something different to everybody. That being said, let me illustrate this with a bad framing and a good framing.
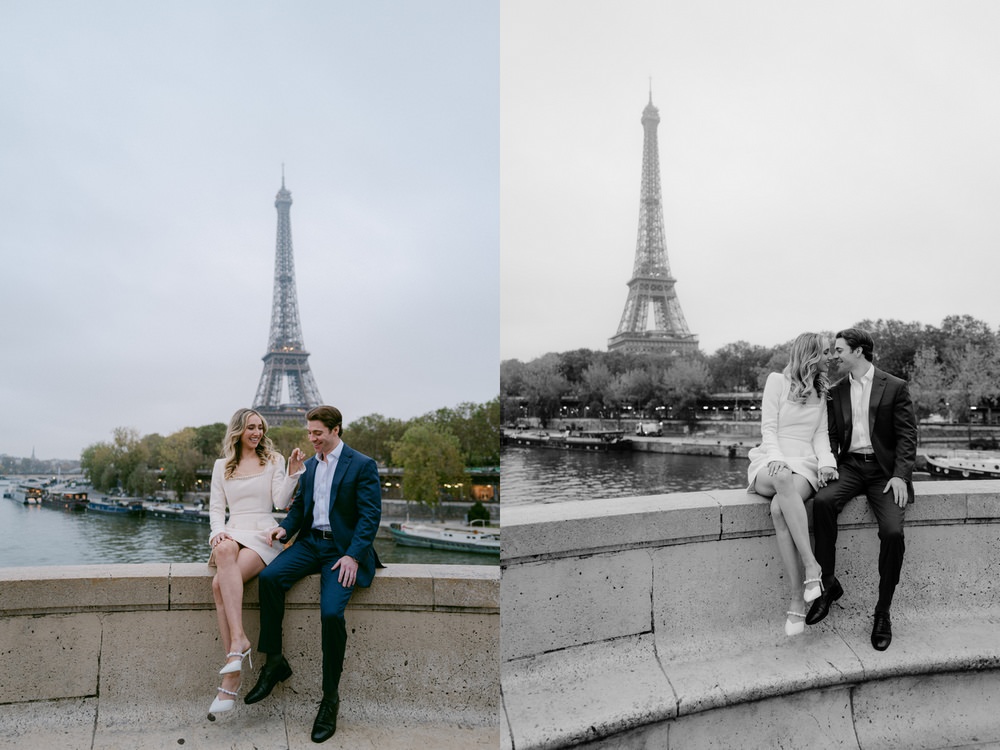
One of the common mistakes that many professional photographers make is that they don’t separate the objects, shapes in the photo. Another one is to choose a framing that cuts off the subjects limbs in unflattering way.
Having your subjects in a weird spot of the frame, that makes the composition look unbalances is another way of ruining a great shot.
As professional couples photographers, we should aim to perfection, to get the best possible shot and to make our clients look flattering.
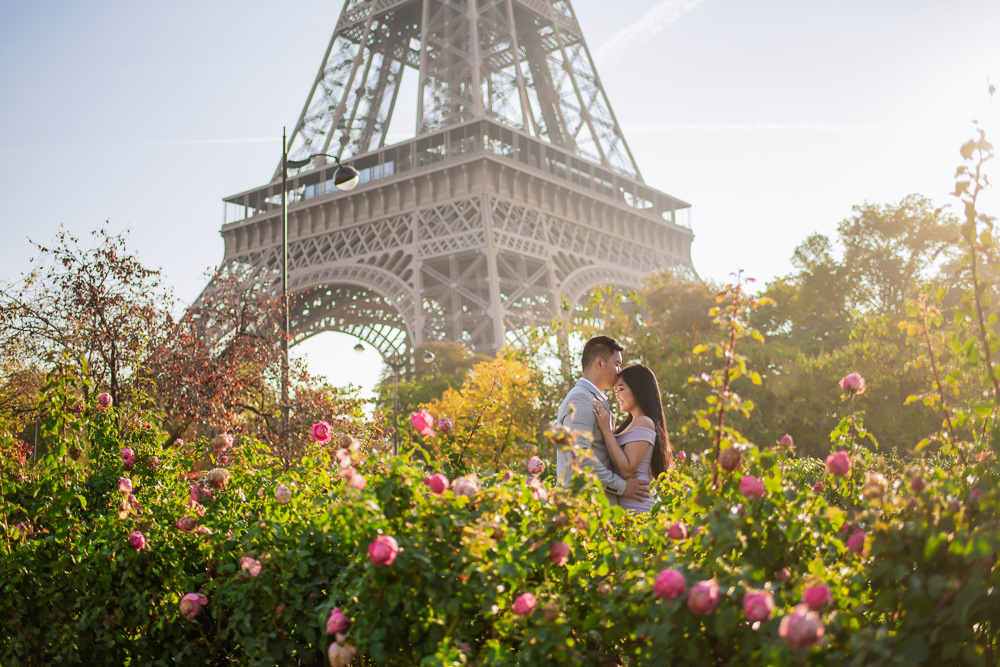
Oh, I forgot to introduce myself. My name is Fran Boloni, I’m a professional engagement and wedding photographer based in Paris, France and London. If you read this article, my hope is that you’ll understand better the notions of composition, framing, angle and perspective, so that you can easily frame a perfect picture. Let’s get into it!
Now, how exactly do you get that perfect shot? There are a few rules that you need to keep in mind, and these rules concern the:
- Composition of the image.
- Framing of the photo.
- Angle from which you are capturing the shot.
- Perspective and distance to the subject.
We’ll explore all these aspects in the following paragraphs. Feel free to jump to the section that you’re interested in the most:
Table of content
Jump to the section that you’re interested in:
Try to have this in mind at all times, to decide on the framing factors above:

Where does the camera need to be to tell the story of what’s happening?
TWO MANN STUDIOS
1. Framing. What do you put in the picture?
Have this in mind: framing is the act of selecting the limits of your image, or in other words, what you include within the frame of your camera. You can determine the framing with your focal length choice (or lens choice), the distance to the subject and other factors. I’ll try to illustrate the first two.
A. Framing. Focal Length Choice
In this first example, you’ll see how the lens that you use will change your framing, even if you take the photo from the same spot.
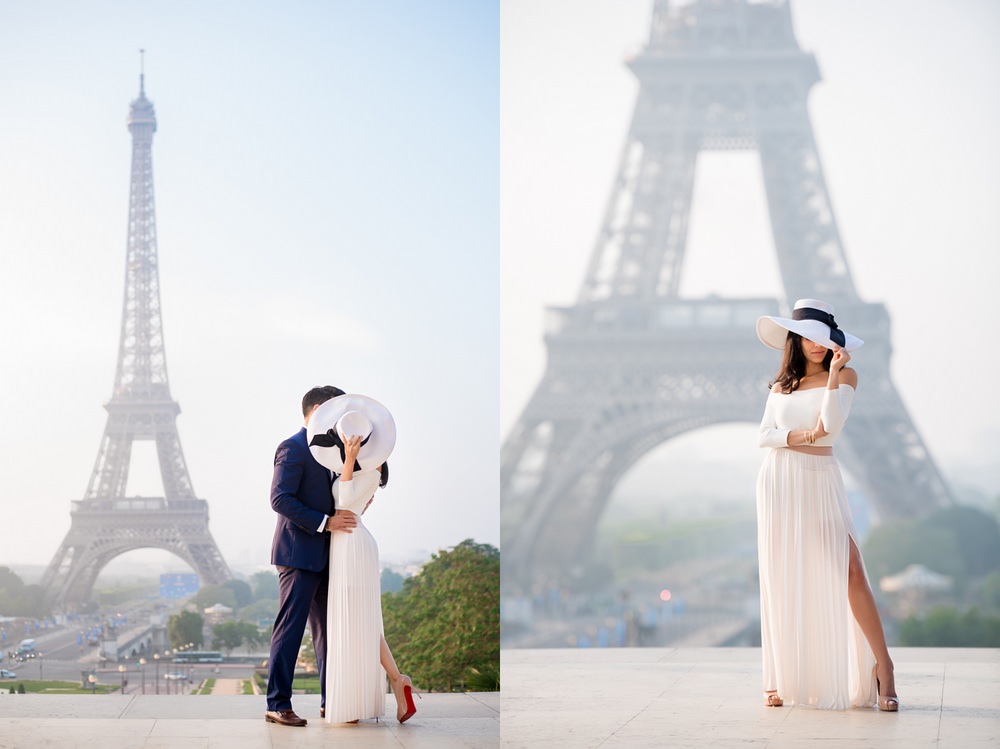
B. Framing. Distance to the subject.
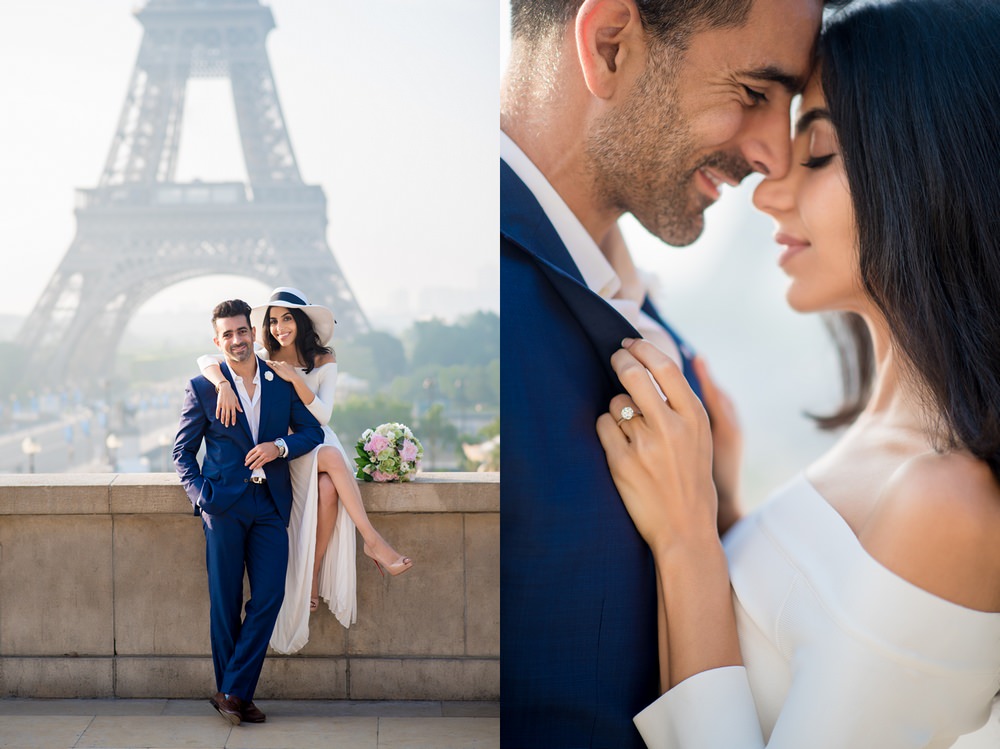
If you use the same lens to capture a photo and you move closer or further to your subject, what you capture in the frame changes. In the image below you can see how with the same lens we can create two very different images simply by changing the distance to the couple.
2. Composition. How do you put elements in your photo?
Alright, once the framing of the photo is done, think of how you’ll put in that picture.
The definition of composition goes like this: the choice of arranging elements within a frame to create a visually balanced and impactful image.
If you are taking photos of humans (portraits, couples, families, etc), then it means: how you place your subject, the background, and other elements to guide the viewer’s eye and tell a story with the photo.
Subject to Frame Ratio: Composition as a Professional Couples Photographer
From my experience of taking couples photos over the past 10 years, I’ve found that these 3 ratios work the best for great compositions and storytelling. To illustrate them, I’ll choose the point of view of storytelling and choose examples from couples photoshoots.
1. Subject to Frame Ratio – One Third – The Scenery
In this ratio: the subject occupies a third or less of the image. Let me illustrate in the picture below.
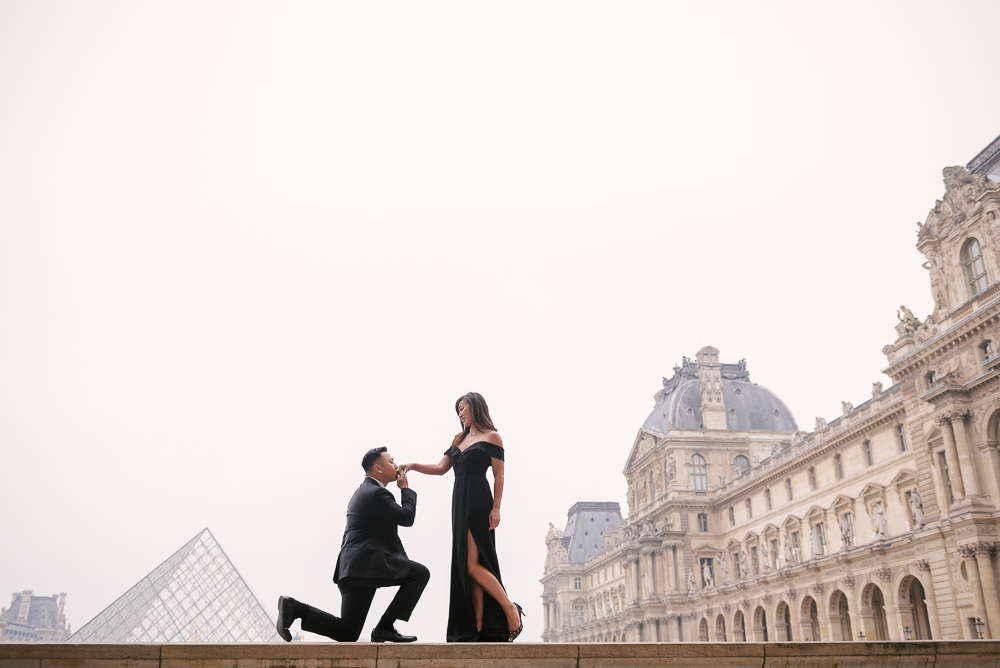
This applies to wedding photography, as well as travel photography or couples photography.
With this choice of subject to background composition you emphasize the scenery. You tell the story of where your couple is taking photos: on a beach or in a busy city.
If you are a nowtimer, then try to have a few of this type of framings in each gallery. As most of our photoshoot clients hire us to capture their memories, their trip, in a specific destination. Hence, the destination is important to them!
The typical focal lengths that allow you to compose this way are around the 35mm in the full frame system, or what we call the wide angle focal length.
Here are a few examples of the One Third Ratio.
2. Subject to Frame Ratio – One Half – The Body Language
This is probably one of the most used ratio in modern couples and wedding photography. In this ratio, the subject takes up more or less the half of the image.
INSERT PHOTO WITH BODY LANGUAGE
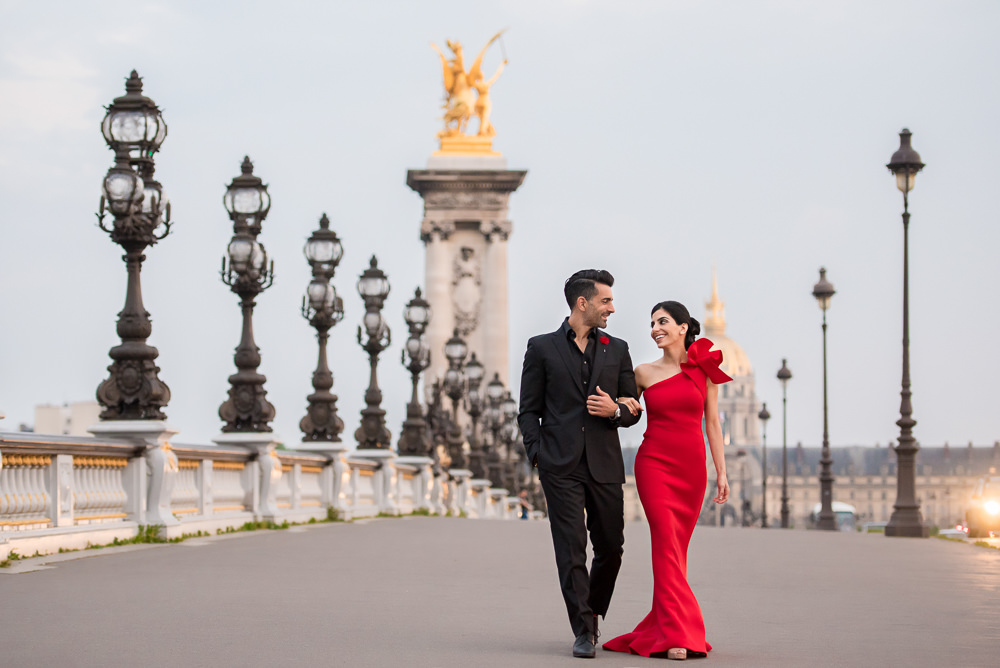
While the scenery is still visible, it is more subtle. The emphasis goes on the subject, their body language if it’s a couple.
This ratio is best captured with focal lengths around 50mm. Which is why the best wedding photographers shoot around this focal length, such as Greg Finck and KT Merry.
As nowtimers, we should use this ratio as much as possible, so that we focus on our clients and the destination as much as possible.
Here are a few examples from well known photographers.
3. Subject to Frame Ratio – Fill The Frame – Intimacy
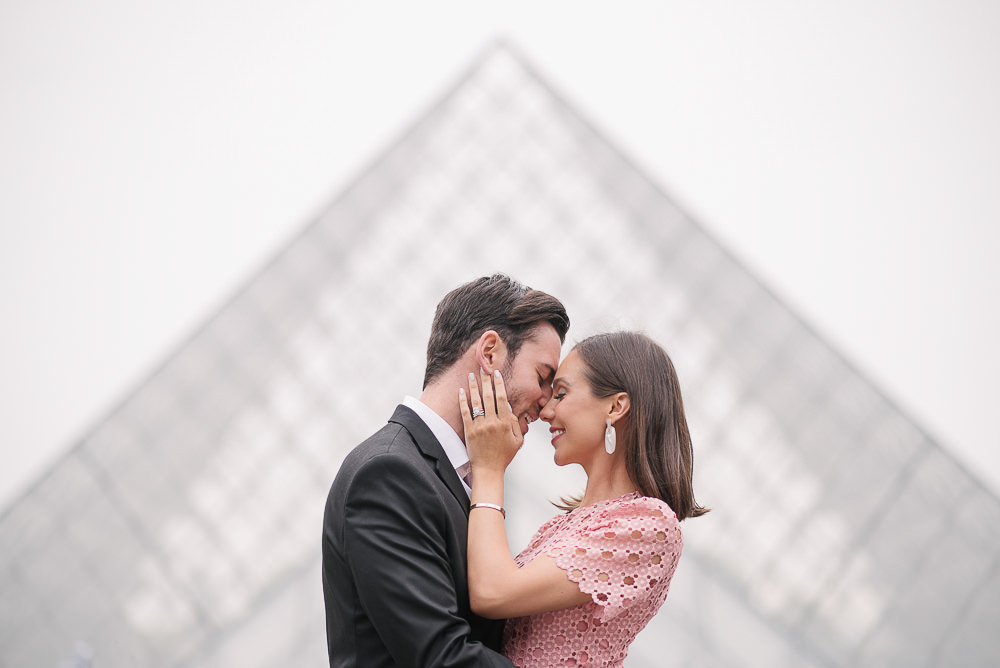
This ratio means that we fill the frame with our subject. Whether it is a close-up portrait, an intimate shot or a detail shot, this ratio doesn’t focus on the destination, but on the subject alone.
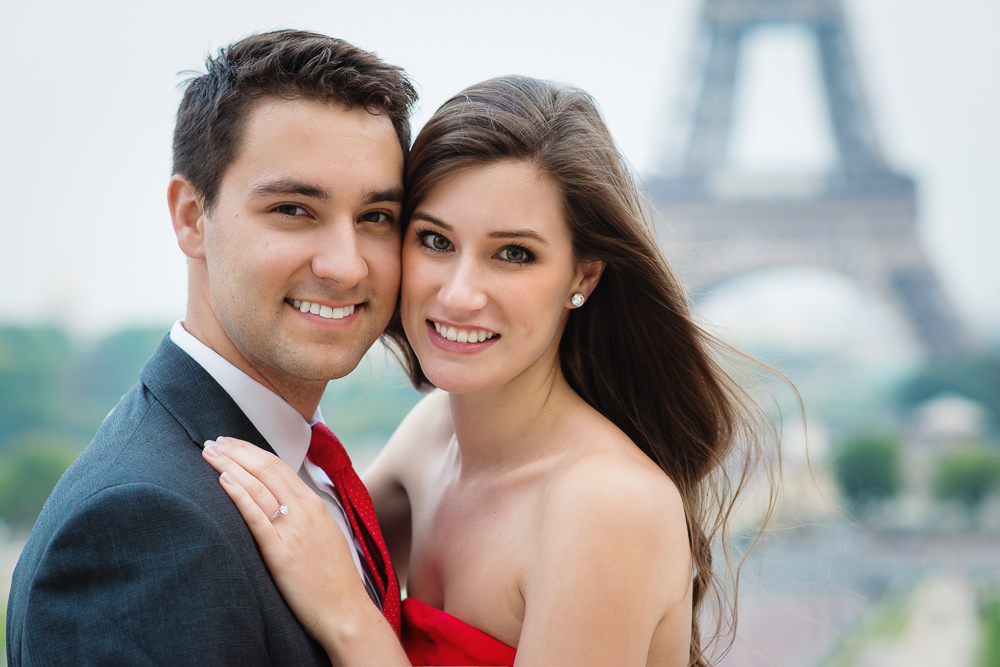
I’d say that the best focal lengths to compose with this ratio are between 50mm and 85mm.
As nowtimers, we should get a few images with this ratio, whenever it makes sense: capturing the detail of the engagement ring after a propose, a delicate romantic gesture of the couple in love, a funny moment of the kids during a family photoshoot, and so on.
Here are a few examples from well known photographers to illustrate this ratio.
3. Angle. Where to position the camera?
The angle of capture of a photo refers to the position of the camera compared to the subject. There are 3 major angle possibilities:
- Eye-level
- Low angle
- High angle.
A. Eye-Level Angle
The eye-level is what I often refer to as the “iphone-level”. Everybody can take a photo like that and it’s also the most natural camera angle that you’ll encounter in photography. Especially in portrait photography, wedding photography and so on.
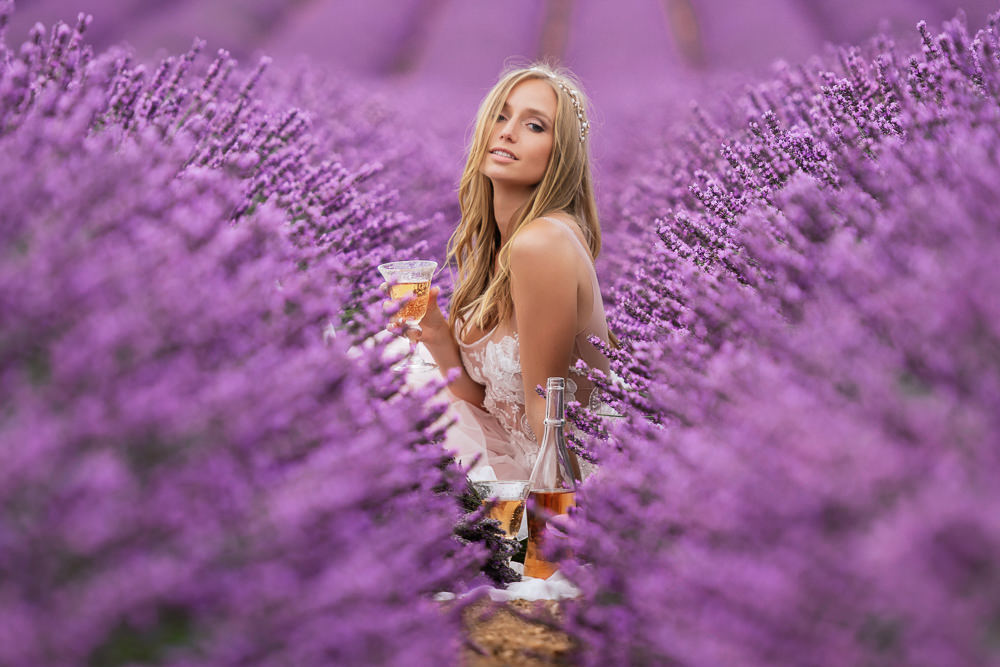
When capturing eye-level photos, remember, it’s not your eye-level, it is the subjects eye level.
B. Low Angle.
When you are taking the picture from a point that is lower than the eye-level of the subject, you make them look taller, more powerful or imposing.
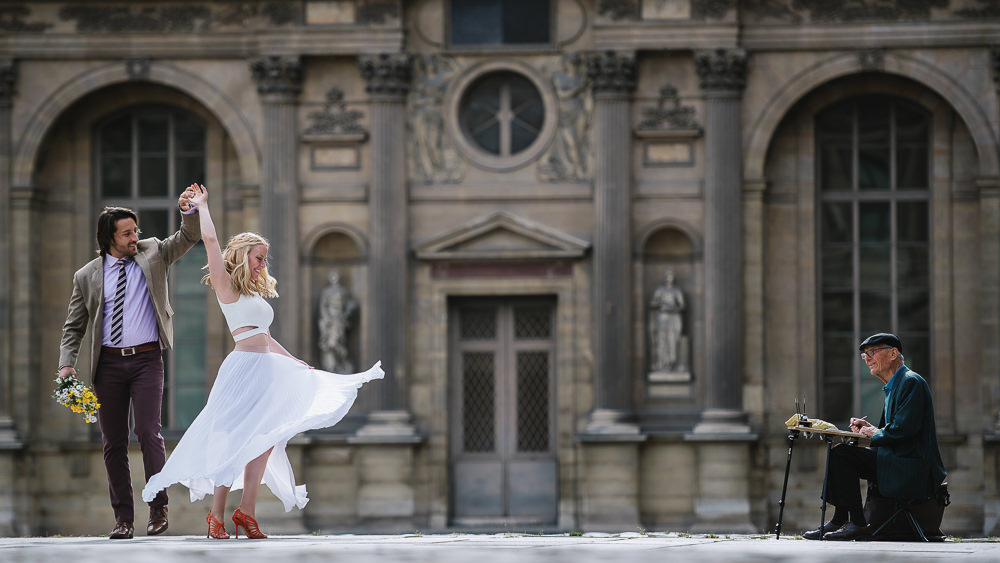
I used to love taking photos from the ground level, to isolate my subjects against a very simple background.
You can also take it to the extreme and shoot from a very low angle, the effect is a little bit more dramatic. This way, you can even avoid tourists midday in a busy city such as Paris, France.

C. High Angle. Add depth to your photos.
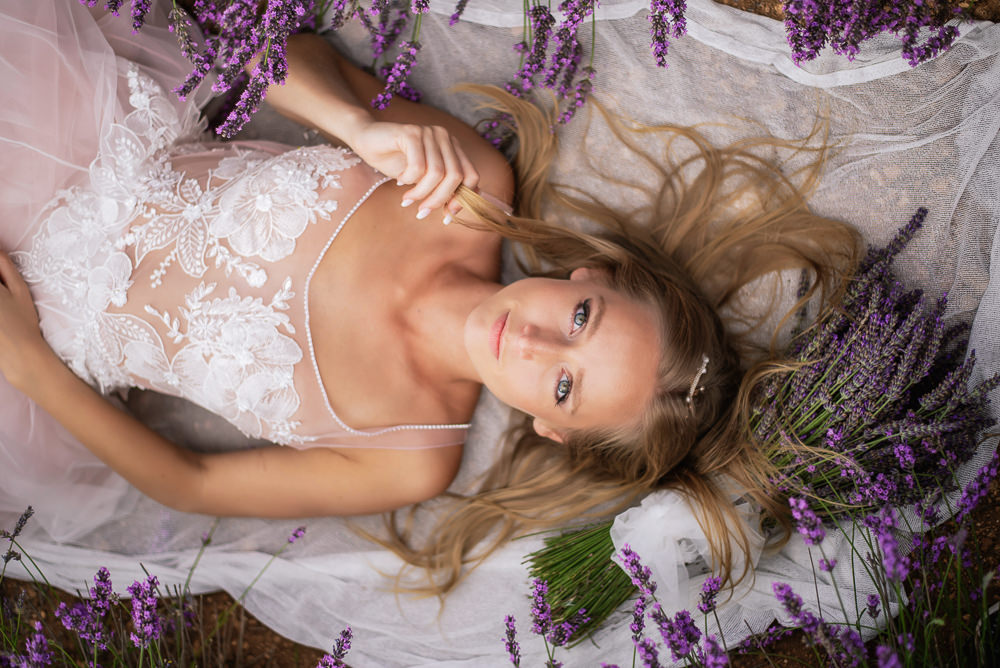
Taking photos from an angle that is higher than the subjects eye level can have different results. It can add depth to the image. So, the effect is positive.
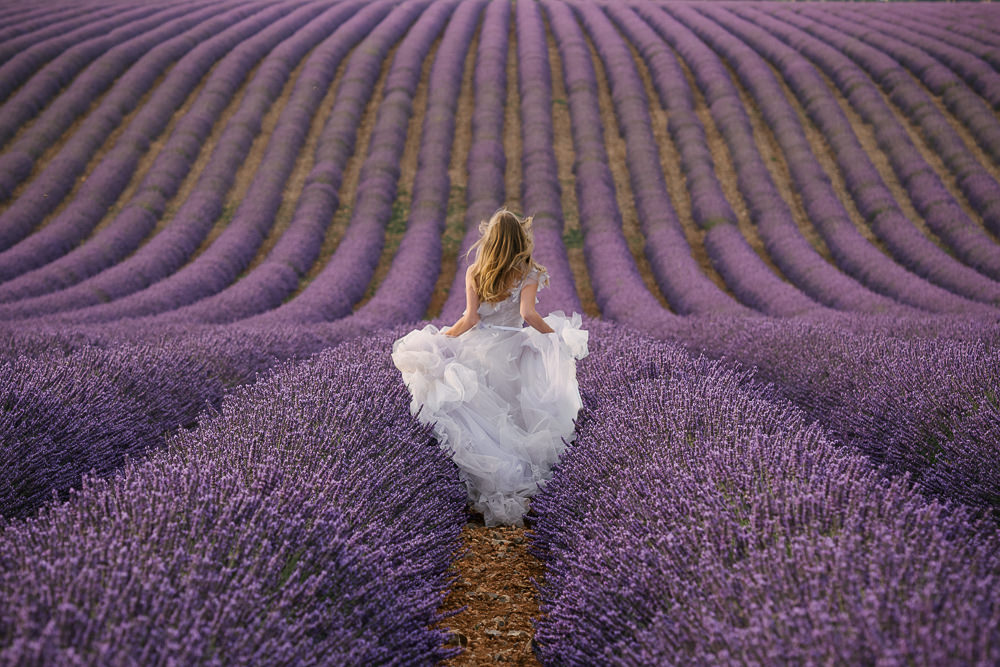
Taking close up portraits or details photos from a high angle adds context. There is a reason why professional food photography uses a 45° angle often.
4. Perspective. Make Your Photos Stand Out
Perspective is the final element that influences a great framing. Remember the question to ask: “Where does the camera need to be to tell the story of what’s happening?“
Perspective is a subjective concept: it refers to how the photo will look based on your point of view (or standpoint).
To be honest, this is a concept that I personally struggle with and try to simplify things so that I can focus on what’s essential: a great composition. That being said, let’s explore some ways to influence the perspective.
A. Wide Angle Perspective. How to Exaggerate Space.
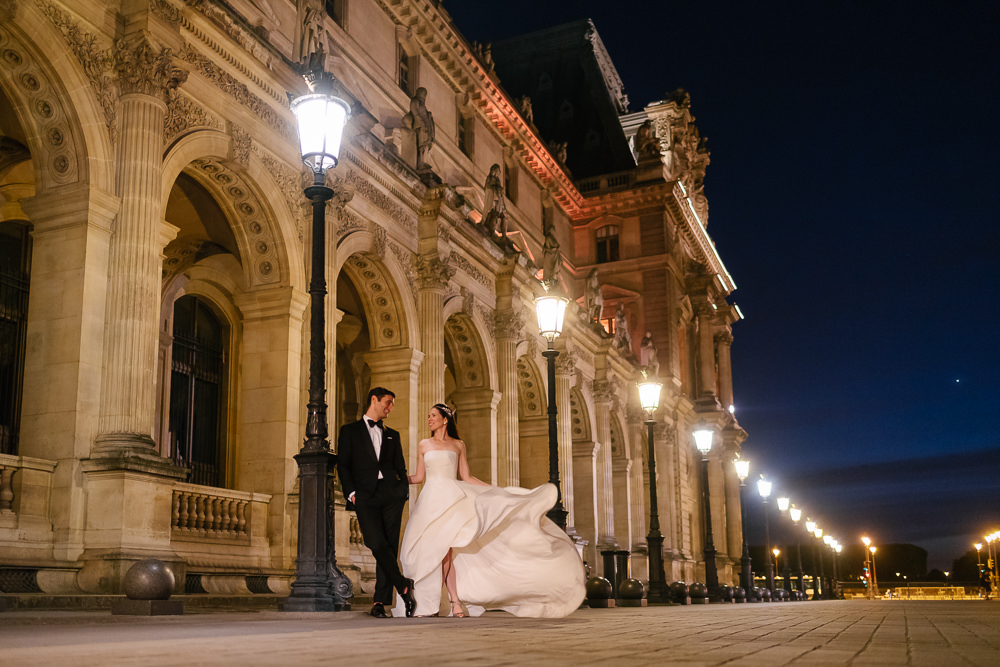
When using a wide angle focal length, you can see leading lines, create depth and spaciousness.
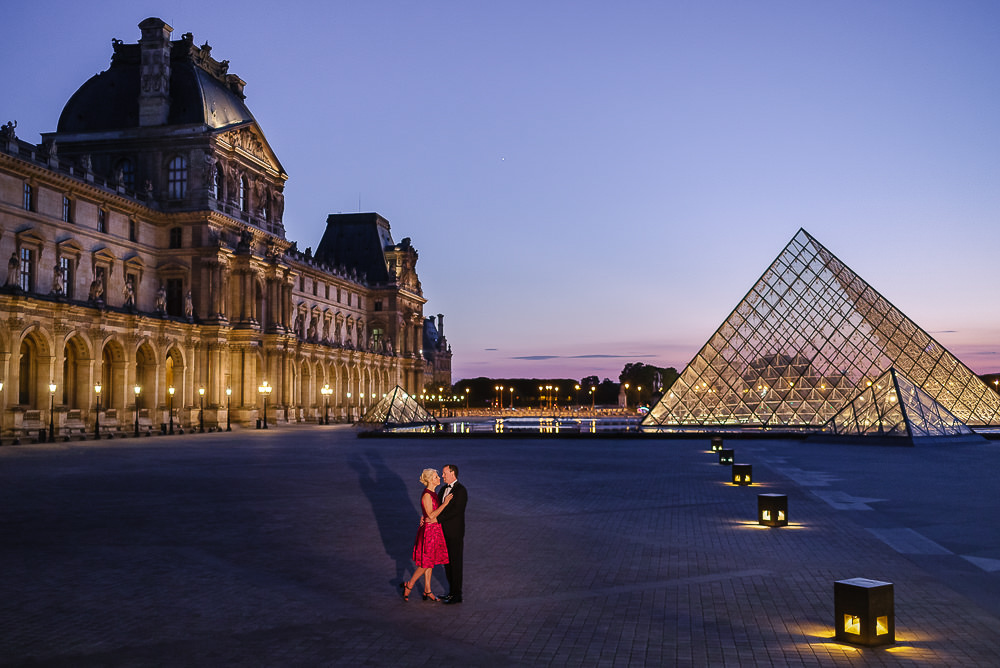
Notice the leading lines formed by the lamps below and how their use enhances the perspective in this wedding photoshoot.
B. Telephoto Perspective. How to Compress Space.
Using a long focal length allows to compress the perspective and bring the background close.
C. Up-Close Perspective. How to Show Intimacy.
If you combine using a wide angle lens, with getting up close to the subject, you get very intimate photos like this captured by Erika and Lanny Mann.
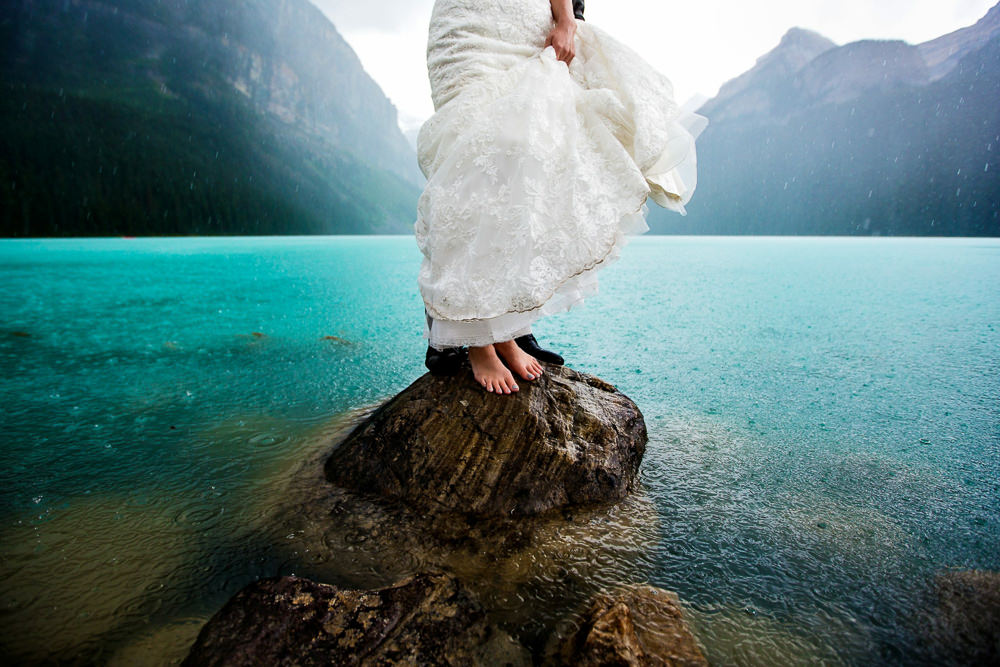
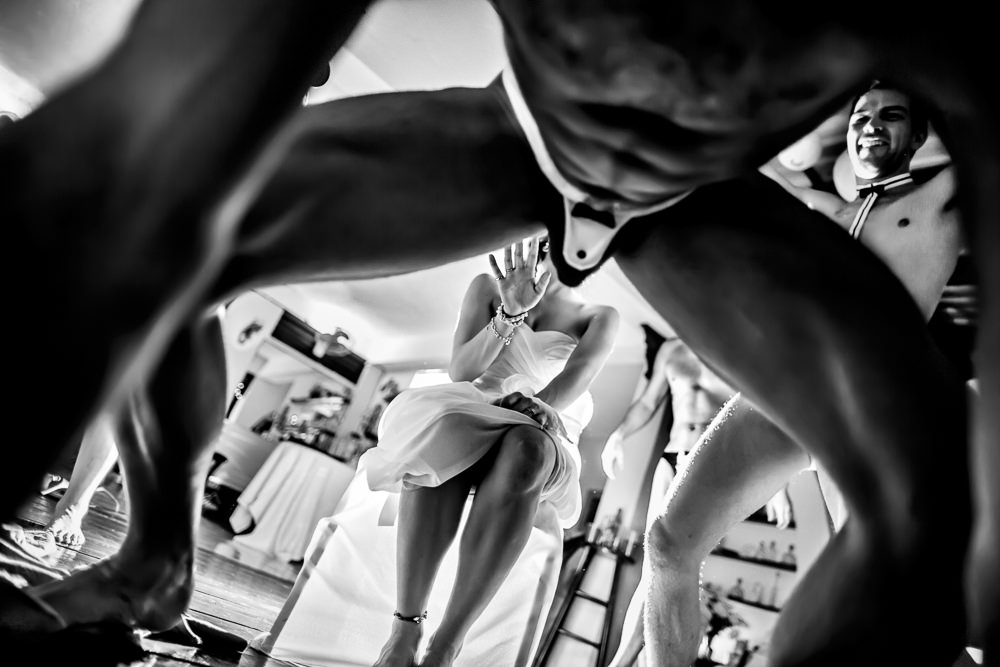
Then, if you get up-close and you play with the angle of the camera, you can get larger than life, dynamic and fun photos like this one below, captured on the dancefloor by Two Mann Studios.
I hope that these concepts seem clearer to you know, whether you are on your journey to become a couples photographer or you’ve just joined our team of talented professional photographers or nowtimers. If you master the concepts of composition, framing, angle and perspective, you’ll be confident in creating images that your clients will love. This knowledge can of course help you in your personal photography or any other artistic projects you are leading.
This was a chapter in the technical aspects of couples photography. In order to become a great professional photographer, you need to be good in communication and also in business.
